🥣 Upma Recipe: A Comforting South Indian Breakfast You’ll Love Making
There are some dishes that feel like a warm hug in a bowl—and upma is definitely one of them. It’s that cozy, wholesome, and satisfying meal you can turn to when you want something quick, delicious, and healthy. A staple in South Indian households, upma is made from roasted semolina (rava) and infused with spices, veggies, and a little love.
Whether you’re new to Indian cooking or looking to add more easy breakfast recipes to your weekly menu, this upma recipe is one you’ll come back to time and again. It’s budget-friendly, quick to whip up (ready in under 30 minutes!), and endlessly customizable.
Let’s walk through the full recipe, step-by-step, and learn how to make upma that’s fluffy, flavorful, and just the right kind of comforting.
🧂 What Is Upma?
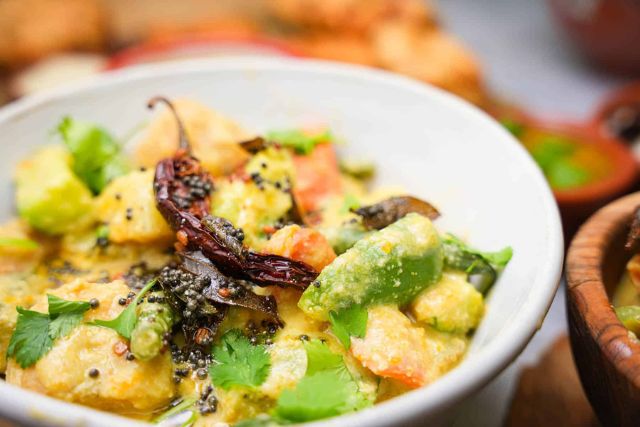
Upma, also known as rava upma or suji upma, is a savory South Indian dish made by cooking semolina (also known as rava or suji) with aromatics, spices, and often vegetables. The dish has a soft, fluffy texture—kind of like a savory porridge but with more bite and structure.
Originally from Tamil Nadu and Karnataka, upma has become a pan-Indian breakfast favorite, served in households, roadside eateries, and even in five-star hotel buffets.
It’s not only vegetarian and naturally gluten-free (when made with certified gluten-free rava), but it also packs in flavor and energy, making it a perfect start to your day.
🛒 Ingredients You’ll Need for the Best Upma Recipe
The beauty of upma is in its simplicity. With just a handful of pantry staples and a few fresh veggies (optional), you can have a warm, satisfying meal on the table in no time.
Core Ingredients:
- 1 cup rava (semolina / suji) – use the coarse variety for best texture
- 2 tablespoons ghee or oil
- 1 teaspoon mustard seeds
- 1 teaspoon urad dal (optional, for crunch)
- 1 teaspoon chana dal (optional)
- 1–2 green chilies, slit or chopped
- 1 teaspoon grated ginger
- 8–10 curry leaves
- 1 medium onion, finely chopped
- Salt to taste
- 2 ½ cups hot water
Optional Add-ins:
- ¼ cup chopped carrots
- ¼ cup green peas
- 1 small tomato, chopped
- 1 tablespoon cashews, lightly toasted
Garnish:
- Fresh coriander leaves, chopped
- Juice of half a lemon
👨🍳 Step-by-Step Upma Recipe: How to Cook
Let’s get cooking! Here’s a clear, step-by-step guide to help you make soft, flavorful, and non-sticky upma every time.
Step 1: Roast the Rava
Before you start anything else, roast the rava in a dry pan over medium heat. Stir continuously for about 5–7 minutes until it turns aromatic and slightly golden.
🔥 Pro Tip: Roasting ensures that your upma doesn’t turn sticky or lumpy later. You can roast and store rava in bulk—it saves time for busy mornings.
Step 2: Prep the Tempering
In a heavy-bottomed kadai or non-stick pan, heat ghee or oil.
Add in the mustard seeds and let them splutter. Then toss in the urad dal and chana dal, and fry until they turn golden.
Now, add the cashews (if using), green chilies, ginger, and curry leaves. Sauté for a few seconds until fragrant.
Step 3: Add Onions and Veggies
Add the chopped onions and sauté until translucent.
If you’re using vegetables like carrots, peas, or beans, add them now. Sauté for a minute and then cover and cook with a splash of water for 3–4 minutes until tender.
Step 4: Add Water and Bring to a Boil
Pour in the hot water and add salt to taste. Let the water come to a rolling boil.
💧 Note: Using hot water instead of cold helps maintain the soft texture of the final dish.
Step 5: Stir in the Rava
Lower the flame to medium-low. Start adding the roasted rava, a little at a time, while continuously stirring to prevent lumps.
Keep stirring until all the rava is absorbed and the mixture thickens.
Cover the pan and simmer on low heat for 3–4 minutes. Then turn off the flame and let it rest covered for a couple more minutes.
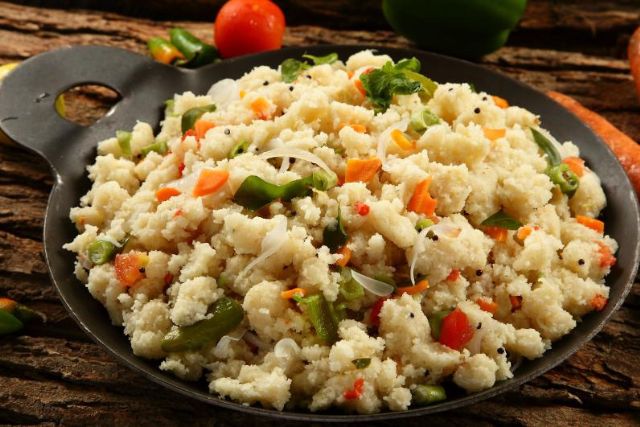
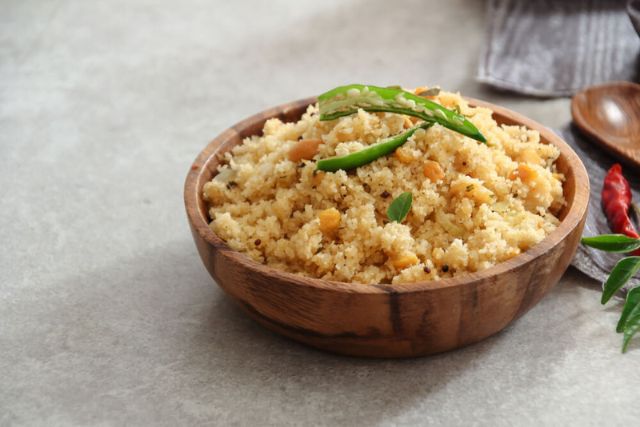
Step 6: Fluff and Garnish
Open the lid and fluff up the upma with a fork.
Finish with a dash of lemon juice and a generous handful of fresh coriander leaves.
And just like that—you’ve made yourself a hot, healthy, and heartwarming bowl of homemade upma.
🧡 Why You’ll Love This Upma Recipe
Let’s be honest—upma doesn’t always get the love it deserves. But once you’ve tried making it this way, you’ll see why it’s such a beloved dish across India.
- ✅ Quick and easy (30 minutes or less)
- ✅ One-pot, minimal cleanup
- ✅ Budget-friendly
- ✅ Full of fiber and good carbs
- ✅ Easy to customize
Serve it hot with a side of coconut chutney or even a dollop of yogurt—and you’ve got a full meal on your hands.
🍽️ Variations and Creative Twists
Feeling experimental? Try these fun spins on the traditional upma recipe:
1. Tomato Upma
Add an extra chopped tomato and sauté until mushy before adding water. This gives your upma a tangy, slightly saucy kick.
2. Masala Upma
Add turmeric, garam masala, and chopped tomatoes to make a bolder, spicier version.
3. Broken Wheat (Dalia) Upma
For a more wholesome twist, substitute rava with cracked wheat (dalia). It’s more fibrous and equally delicious.
4. Bread Upma
Chop leftover bread slices and toss them with the same tempering and spices for a zero-waste, flavorful breakfast.
5. Oats Upma
Use quick oats instead of rava for a fiber-rich version perfect for diabetic-friendly or low-GI diets.
🥣 What to Serve with Upma Recipe
Upma tastes amazing on its own, but pairing it with one of these takes it to the next level:
- Coconut chutney – the classic combo
- Sambar – for a South Indian breakfast thali vibe
- Green chutney – minty freshness adds zing
- Curd or raita – balances the heat and adds creaminess
- Pickle and papad – for extra crunch and spice
🫓 Try adding a crispy dosa or idli on the side for a full brunch feast!
❄️ Storing and Reheating Tips
Have leftovers? No worries—upma stores and reheats beautifully.
Storage:
- Store in an airtight container in the fridge for up to 2 days.
Reheating:
- Sprinkle a little water and microwave for 1–2 minutes, or reheat on the stovetop with a splash of ghee to bring it back to life.
🧊 Note: Avoid freezing upma—it tends to dry out and lose texture when thawed.
✨ Final Thoughts: The Comfort of Upma, One Spoon at a Time
In a world of fancy breakfasts and global fusion dishes, there’s something grounding about a plate of good old upma. It’s that reliable dish that’s always there for you—when you need a quick meal, when you’re feeling under the weather, or just when you’re in the mood for something simple and soulful.
This upma recipe brings together the essence of Indian home cooking: unpretentious, nourishing, and made with love. It’s the kind of dish that makes you slow down, savor each bite, and remember that great food doesn’t have to be complicated.
So next time you’re looking for a fuss-free meal that’s light on effort but big on flavor, give this recipe a go. Trust me—your taste buds (and your schedule) will thank you.