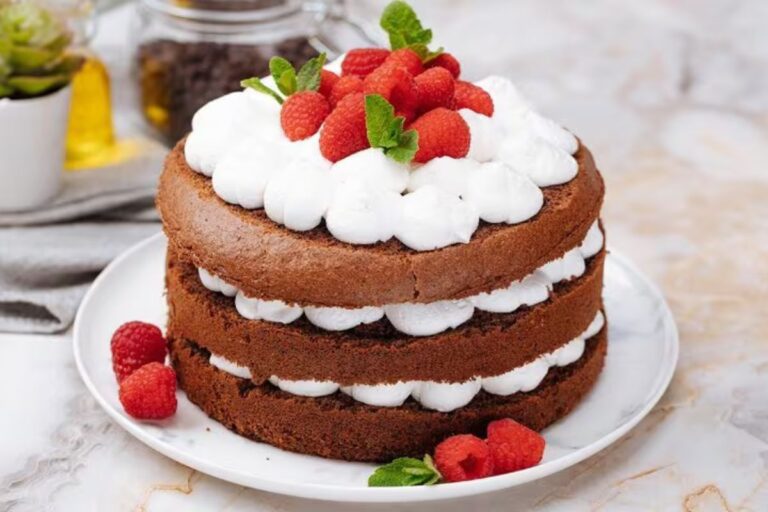
Republic Day Cake Recipe (Tricolor Theme Cake for 26 January)
Republic Day is not just a national celebration—it’s an emotion for every Indian. And what better way to make your 26th January even more special than cutting a beautiful Republic Day cake at home?
This happy Republic Day cake recipe is simple, beginner-friendly, and comes with a stunning tricolor theme that looks absolutely festive.
Whether you want a small family cake or a party-size version, this republic day theme cake will be perfect for your celebration.
Quick Recipe Info
- Prep Time: 20 minutes
- Cook Time: 30–35 minutes
- Total Time: 1 hour (including cooling + decorating)
- Servings: 8–10 slices
- Difficulty: Easy to Medium
Ingredients for Republic Day Cake
For the Sponge Cake (Vanilla Base)
- 2 cups all-purpose flour (maida)
- 1 cup powdered sugar
- 1/2 cup butter (softened)
- 1 cup milk (room temperature)
- 2 tsp baking powder
- 1/2 tsp baking soda
- 1 tsp vanilla essence
- 2 tbsp curd (yogurt)
- A pinch of salt
For Tricolor Layers / Coloring
- Orange food color (or saffron color)
- Green food color
- (White part remains as is)
For Whipped Cream Frosting
- 2 cups whipped cream (non-dairy or dairy)
- 3 tbsp powdered sugar (adjust as per taste)
- 1 tsp vanilla essence
For Decoration (Optional but Recommended)
- Tricolor sprinkles
- Silver balls (dragees)
- Edible glitter (optional)
- Chocolate chips (optional)
- Any mini Indian flag topper (paper topper also works)
Tools You’ll Need
- Mixing bowl
- Whisk / electric beater
- Cake tin (7 or 8 inch round)
- Baking paper (optional)
- Spatula
- Piping bag (optional)
- Turntable (optional)
Step-by-Step Republic Day Cake Recipe
Step 1: Preheat & Prepare
- Preheat your oven to 180°C (350°F) for 10 minutes.
- Grease your cake tin with butter and dust with flour.
- You can also line the base with baking paper for easy removal.
Step 2: Make the Cake Batter
- In a bowl, add butter + powdered sugar.
- Whisk until light and fluffy.
- Add curd + vanilla essence and mix well.
- Now add flour slowly in batches.
- Pour milk gradually and mix to make a smooth batter.
- Add baking powder + baking soda + pinch of salt and mix gently.
✅ Batter should be smooth and ribbon-like, not too thick.
Step 3: Divide the Batter Into Tricolor
- Divide the batter into 3 equal portions.
- Keep one portion white.
- Add orange food color to one portion.
- Add green food color to the third portion.
This is the base for your perfect republic day theme cake.
Step 4: Bake the Cake (Layer Style)
You have two options:
✅ Option A: Bake All Together (Easy)
- Pour orange batter first.
- Then carefully pour white batter over it.
- Then green batter at the end.
Bake at 180°C for 30–35 minutes.
✅ Option B: Bake Separate Layers (Professional Look)
Bake 3 separate thin layers, then stack them later with frosting in between.
Step 5: Check & Cool
- Insert a toothpick in the center.
- If it comes out clean, cake is done.
- Let the cake cool completely before frosting.
⚠️ Do not frost a hot cake—cream will melt and spoil the finish.
How to Make Whipped Cream Frosting
- Take chilled whipped cream in a bowl.
- Add powdered sugar and vanilla essence.
- Whip until stiff peaks form.
✅ If using non-dairy whipping cream, follow packet instructions and keep everything cold.
Decorate Your Happy Republic Day Cake
Step 1: Level the Cake (Optional)
If the top is uneven, trim lightly with a knife.
Step 2: Apply Crumb Coat
Spread a thin layer of whipped cream all over the cake.
Refrigerate for 15 minutes.
Step 3: Final Frosting
Apply a thick final layer of whipped cream and smooth it with spatula.
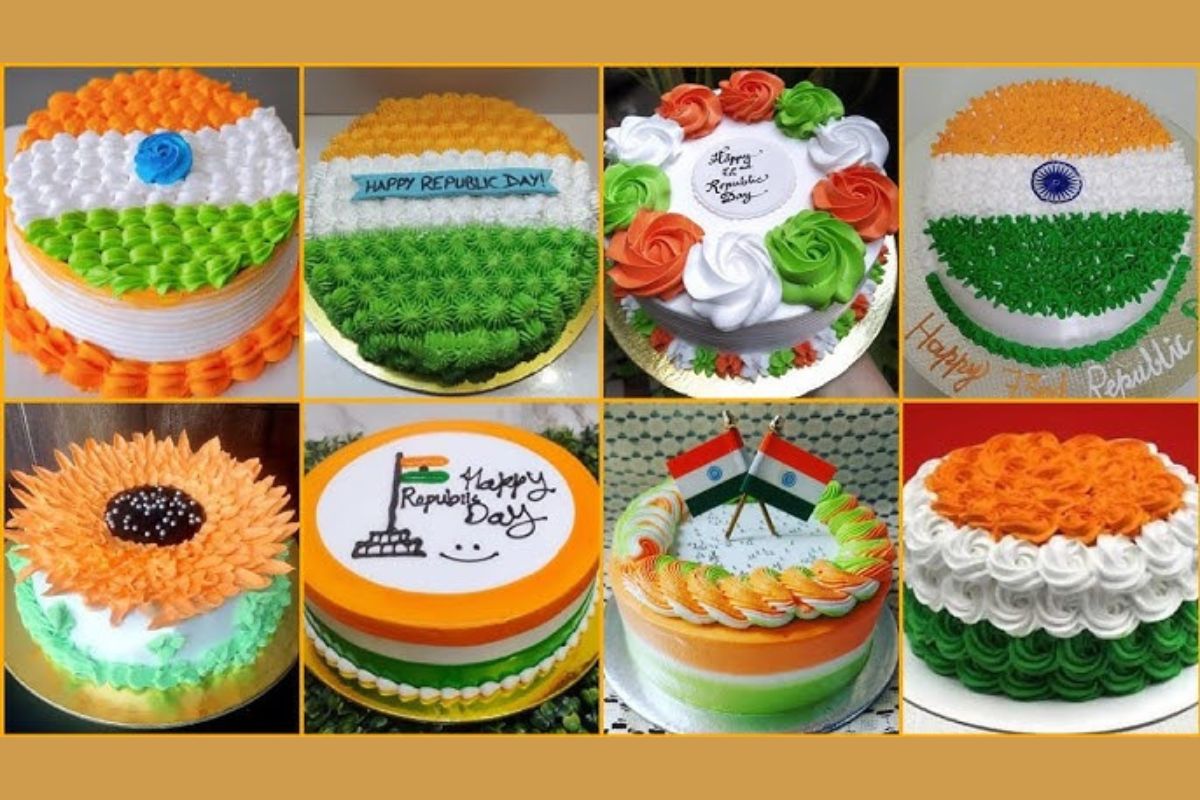
Step 4: Make Tricolor Design
Here are 3 decoration styles:
✅ Style 1: Tricolor Stripes (Best for Republic Day Cake Images)
- Add orange cream at the top border
- White cream in the center
- Green cream at the bottom
✅ Style 2: Indian Flag Design
- Make 3 horizontal layers on the cake
- Add a small blue circle (Ashoka Chakra) with edible color
✅ Style 3: Tricolor Rosettes
Pipe orange, white, and green rosettes all around.
This will make your cake look perfect for republic day cake images and Instagram posts.
Tips for Perfect Republic Day Cake
- Use gel food colors for bright and strong colors.
- Don’t overmix after adding baking powder/soda.
- Cool the cake fully before decoration.
- Chill whipping cream bowl for better texture.
- Keep your cake in fridge once frosting is done.
Republic Day Theme Cake Variations
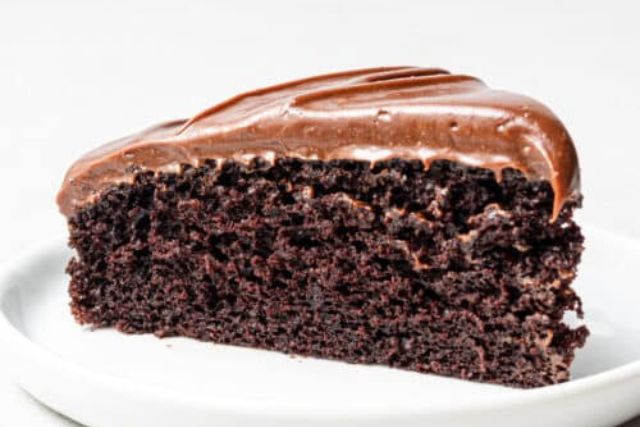
1) Chocolate Republic Day Cake
Make a chocolate sponge and decorate with tricolor cream.
2) Eggless Republic Day Cake
This recipe is already eggless, so it’s perfect for everyone.
3) Cupcake Version (Cake for Republic Day Party)
Bake cupcakes and top them with tricolor frosting.
4) Fondant Republic Day Cake
Cover with white fondant and create flag design on top.
Serving Suggestions
This cake for Republic Day tastes best with:
- Hot tea or coffee
- Vanilla ice cream
- Chocolate sauce drizzle (for kids)
Storage & Shelf Life
- Room Temperature: Not recommended after frosting
- Refrigerator: Stays fresh for 2–3 days
- Freezer (without cream): Up to 7 days
✅ Always keep the whipped cream cake refrigerated.
Nutrition (Approx.)
(Per slice, may vary depending on ingredients)
- Calories: 280–350 kcal
- Carbs: 35g
- Protein: 4g
- Fat: 14g
Common Mistakes to Avoid
❌ Overusing food color (bitter taste)
❌ Frosting on warm cake (cream melts)
❌ Overbaking (dry cake)
❌ Not chilling whipped cream (won’t whip properly)
❌ Cutting cake immediately (crumbly slices)
Conclusion
This Republic Day cake recipe is one of the best ways to add sweetness to your 26 January celebration. The tricolor design makes it a stunning republic day theme cake, and it’s easy enough for beginners too.
So go ahead, bake your own happy Republic Day cake, click beautiful republic day cake images, and celebrate the spirit of India with pride 🇮🇳✨