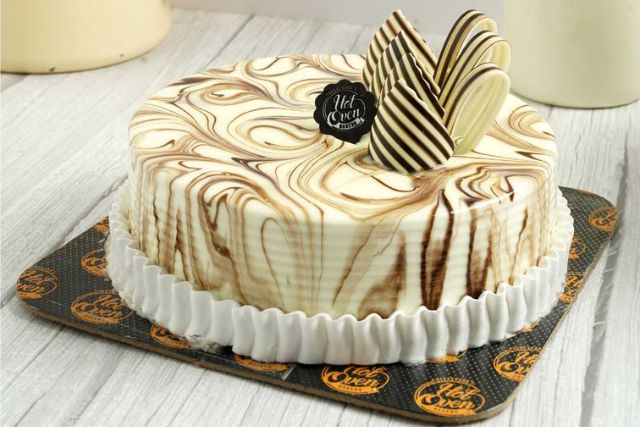
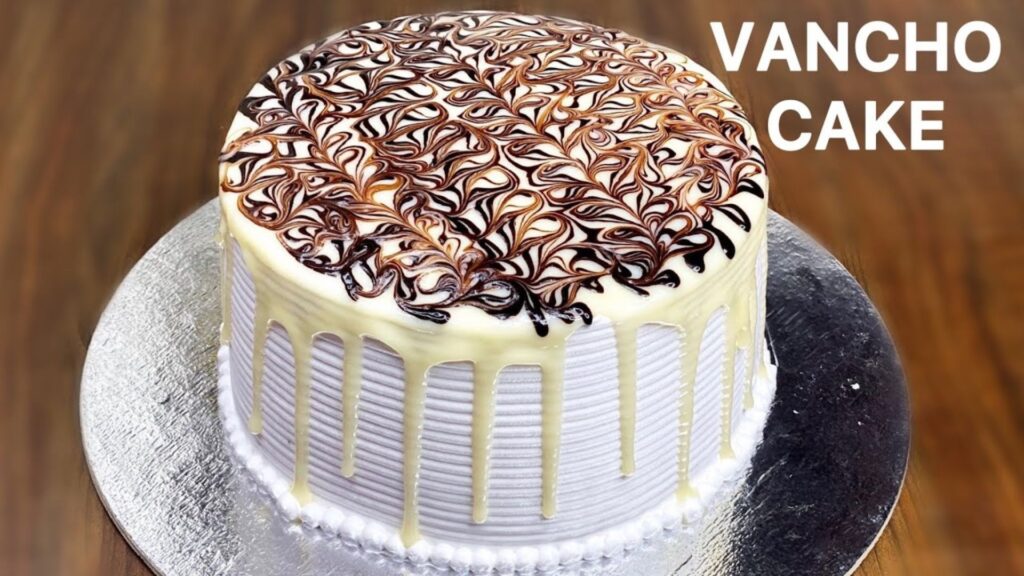
How to Make Vancho Cake Recipe: Cook At Home
If you’re searching for a unique and delicious cake that will impress your family and friends, look no further than the Vancho cake. This delectable dessert combines the rich flavors of chocolate and vanilla, creating a harmonious blend that is both indulgent and satisfying. Whether you’re celebrating a special occasion or simply looking for a new recipe to try, the Vancho cake is a fantastic choice. In this article, we’ll walk you through the Vancho cake recipe step by step, offer tips for perfecting your cake, and answer some common questions about this delightful treat.
What is Vancho Cake?
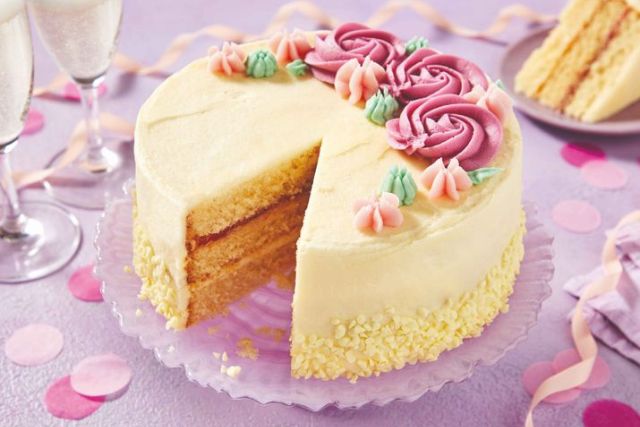
Vancho cake is a delightful fusion of two classic flavors: vanilla and chocolate. The term “Vancho” is a playful blend of “vanilla” and “chocolate,” reflecting the cake’s dual-flavor profile. Typically, Vancho cake features layers of vanilla and chocolate sponge cake, often with a layer of rich chocolate ganache or frosting. It’s a versatile cake that can be dressed up for special occasions or enjoyed as a simple yet delicious dessert.
Why You’ll Love It:
- Perfect balance of simplicity and elegance.
- Adaptable to different flavors and dietary needs.
- Ideal for birthdays, holidays, or “just because” days!
How to Prepare Vancho Cake Recipe
Before diving into the step-by-step Vancho Cake Recipe, let’s round up everything you’ll need. and also note that Use room-temperature ingredients for smoother mixing
Ingredients
For the Cake:
- Vanilla Sponge Cake:
- 1 ½ cups (190g) all-purpose flour
- 1 cup (200g) granulated sugar
- 1 ½ teaspoons baking powder
- ¼ teaspoon salt
- ½ cup (115g) unsalted butter, softened
- 2 large eggs
- 1 cup (240ml) milk
- 2 teaspoons vanilla extract
- Chocolate Sponge Cake:
- 1 ½ cups (190g) all-purpose flour
- 1 cup (200g) granulated sugar
- 1/3 cup (30g) unsweetened cocoa powder
- 1 ½ teaspoons baking powder
- ¼ teaspoon salt
- ½ cup (115g) unsalted butter, softened
- 2 large eggs
- 1 cup (240ml) milk
- 1 teaspoon vanilla extract
For the Chocolate Ganache:
- 1 cup (240ml) heavy cream
- 8 ounces (225g) semi-sweet chocolate, chopped
- 2 tablespoons unsalted butter
For the Vanilla Buttercream Frosting:
- 1 cup (225g) unsalted butter, softened
- 3 ½ cups (440g) powdered sugar
- 1 teaspoon vanilla extract
- 2-3 tablespoons milk
This is Optional Add-ins but it can inhance your cake Taste:
- Fresh berries (strawberries, raspberries)
- Chopped nuts (walnuts, pecans)
- Citrus zest (lemon or orange for a bright twist)
Step-by-Step Vancho Cake Recipe Instructions
Step 1: Prepare the Vanilla Sponge Cake:
- Preheat the Oven:
Preheat your oven to 350°F (175°C). Grease and flour two 9-inch round cake pans or line them with parchment paper. - Mix Dry Ingredients:
In a medium bowl, whisk together the flour, sugar, baking powder, and salt. - Cream Butter and Sugar:
In a large mixing bowl, cream the softened butter and granulated sugar until light and fluffy. Add the eggs one at a time, beating well after each addition. Mix in the vanilla extract. - Combine Ingredients:
Gradually add the dry ingredients to the butter mixture, alternating with the milk, until the batter is smooth and well combined. - Bake:
Divide the batter evenly between the prepared pans. Bake for 25-30 minutes or until a toothpick inserted into the center comes out clean. Allow the cakes to cool in the pans for 10 minutes before transferring them to a wire rack to cool completely.
Step 2: Prepare the Chocolate Sponge Cake:
- Mix Dry Ingredients:
In a medium bowl, whisk together the flour, sugar, cocoa powder, baking powder, and salt. - Cream Butter and Sugar:
In a large mixing bowl, cream the softened butter and granulated sugar until light and fluffy. Add the eggs one at a time, beating well after each addition. Mix in the vanilla extract. - Combine Ingredients:
Gradually add the dry ingredients to the butter mixture, alternating with the milk, until the batter is smooth and well combined. - Bake:
Divide the batter evenly between the prepared pans. Bake for 25-30 minutes or until a toothpick inserted into the center comes out clean. Allow the cakes to cool in the pans for 10 minutes before transferring them to a wire rack to cool completely.
Step 3: Prepare the Chocolate Ganache:
- Heat Cream:
In a small saucepan, heat the heavy cream over medium heat until it begins to simmer. Do not let it boil. - Add Chocolate:
Place the chopped chocolate in a heatproof bowl. Pour the hot cream over the chocolate and let it sit for 2-3 minutes. Stir until the chocolate is completely melted and smooth. Add the butter and stir until fully incorporated. - Cool:
Allow the ganache to cool to room temperature before using. It will thicken as it cools.
Step 4: Prepare the Vanilla Buttercream Frosting:
- Cream Butter:
In a large mixing bowl, beat the softened butter until creamy. Gradually add the powdered sugar, beating well after each addition. - Add Vanilla and Milk:
Mix in the vanilla extract. Add milk one tablespoon at a time until you reach your desired consistency. The frosting should be smooth and spreadable.
Step 5: Assemble the Cake:
- Layer the Cakes:
Place one layer of vanilla sponge cake on a serving plate. Spread a layer of chocolate ganache over the cake. Top with the chocolate sponge cake layer. - Frost the Cake:
Spread a layer of vanilla buttercream frosting over the top and sides of the cake. Smooth with a spatula or create a decorative pattern. - Chill:
Refrigerate the cake for at least 30 minutes to set the frosting before serving. - Serve and Enjoy:
Slice and serve your Vancho cake. Enjoy the delightful combination of vanilla and chocolate in every bite!
Tips for a Perfect Vancho Cake Recipe
- Use Room Temperature Ingredients:
For the best results, ensure that your butter, eggs, and milk are at room temperature. This helps create a smoother batter and a more evenly baked cake. - Sift Cocoa Powder:
Sift the cocoa powder before adding it to the dry ingredients to avoid lumps and ensure a smooth chocolate cake batter. - Measure Ingredients Accurately:
Accurate measurements are crucial for a well-balanced cake. Use measuring cups and spoons for dry ingredients and a liquid measuring cup for liquids. - Cool Cakes Completely:
Allow the cakes to cool completely before frosting. This prevents the frosting from melting and ensures a cleaner finish. - Chill the Cake Before Serving:
Chilling the cake after frosting helps the buttercream set and makes it easier to cut clean slices.
5 Delicious Vancho Cake Variations
- Lemon-Vanilla Vancho Cake: Add zest of 2 lemons to the batter and fill with lemon curd.
- Mocha Vancho Cake: Mix 1 tbsp cocoa powder into the batter and add espresso to the frosting.
- Berry Bliss Vancho Cake: Layer fresh strawberries or blueberries between the cake tiers.
- Gluten-Free Vancho Cake: Substitute flour with a 1:1 gluten-free blend.
- Vegan Vancho Cake: Use plant-based butter, flax eggs, and almond milk.
By following this Vancho cake recipe, you’ll create a stunning dessert that combines the best of both vanilla and chocolate flavors. This cake is perfect for any occasion, from birthdays to casual gatherings. Enjoy the process of baking and indulge in the delightful taste of Vancho cake!
Loved this recipe? Bookmark Cookwithbisht for more baking adventures, drop your questions in the comments, and don’t forget to share this post with your fellow dessert enthusiasts. After all, the best cakes are the ones enjoyed with loved ones!
FAQs About Vancho Cake Recipe
Can I make the Vancho cake in advance?
Yes, you can make the cake layers in advance. Bake and cool the cakes, then wrap them tightly in plastic wrap and freeze for up to 2 months. Thaw before frosting. You can also prepare the ganache and frosting ahead of time; just store them in the refrigerator and bring them to room temperature before using.
How can I make the cake gluten-free?
To make a gluten-free Vancho cake, substitute the all-purpose flour with a gluten-free flour blend. Ensure that all other ingredients, including the baking powder, are gluten-free. The texture may vary slightly from the traditional version, but the flavor will still be delicious.
Can I use a different type of frosting for this cake?
Absolutely! If you prefer a different frosting, such as cream cheese frosting or a chocolate buttercream, feel free to substitute. Just ensure that the frosting complements the flavors of the cake.
How can I add more flavor to the cake?
For added flavor, you can mix in extracts such as almond or coffee, or incorporate spices like cinnamon or nutmeg into the cake batter. You can also add chocolate chips or chunks to the batter for extra texture and flavor.
My cake layers are domed. How can I make them level?
If your cake layers have domed tops, use a serrated knife to level them before stacking and frosting. Cutting off the domed part will create a flat surface for even layering and a professional-looking finish.