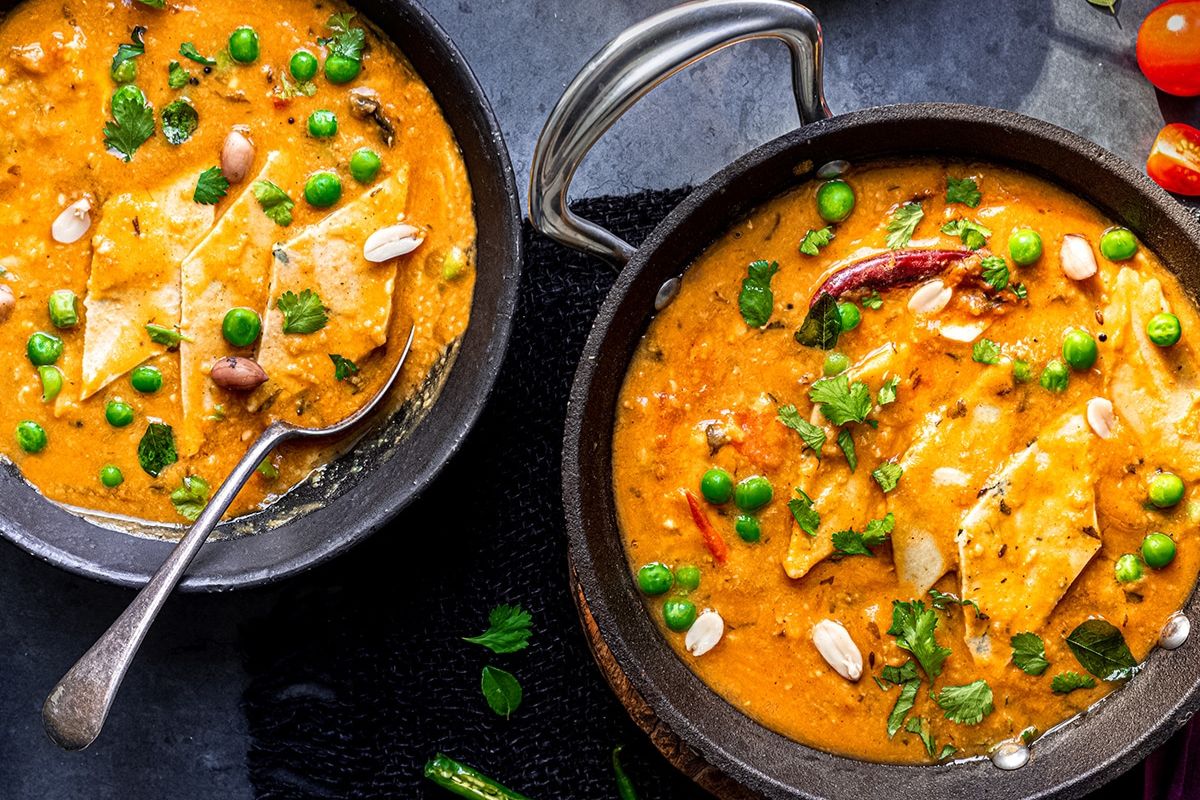
Dal Dhokli Recipe: A Flavorful Comfort Food from Gujarat
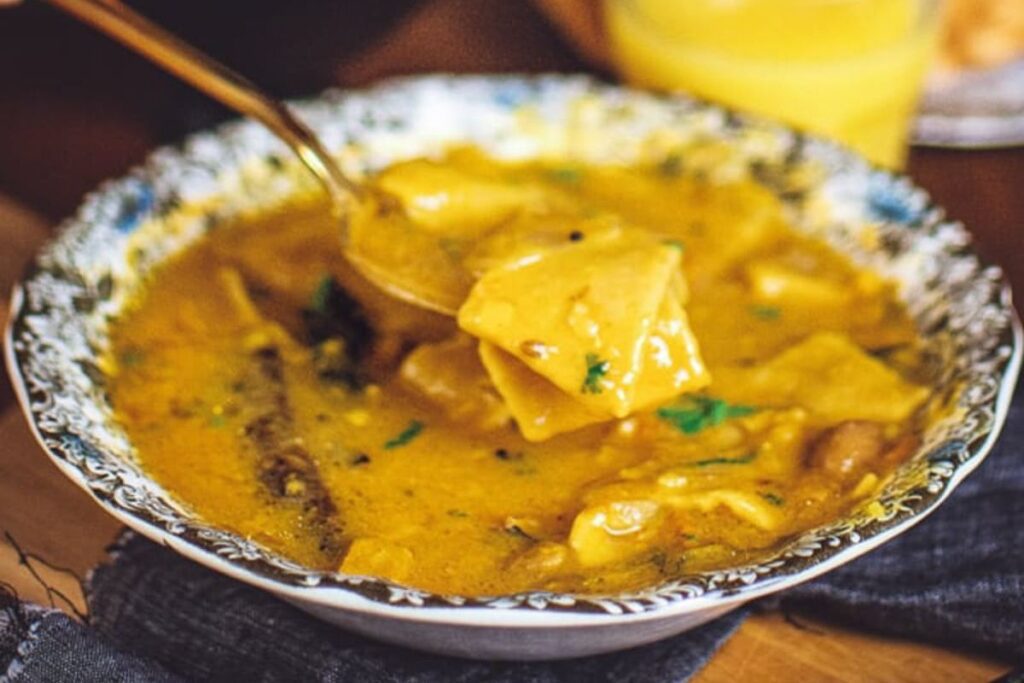
Dal Dhokli is a traditional Gujarati dish that combines lentils (dal) with wheat flour dumplings (dhokli), creating a comforting, hearty meal. The dish is packed with rich flavors from a blend of spices, making it a perfect choice for a wholesome lunch or dinner. It’s a one-pot dish that’s easy to make and extremely satisfying.
In this recipe, we’ll guide you through each step of preparing Dal Dhokli, from cooking the dal to making the soft dhoklis and blending the flavors to perfection. If you love flavorful Indian dishes, check out our Ghughra Recipe and Dhokla Recipe for more comforting meal ideas.
What is Dal Dhokli?
Dal Dhokli is a unique dish that originates from Gujarat, India. It consists of two main components:
- Dal: A flavorful lentil stew made from yellow moong dal or toor dal (pigeon peas).
- Dhokli: Soft, wheat flour dumplings that are cooked in the dal, absorbing all the rich flavors.
The dish is mildly spicy and tangy, making it a crowd-pleaser in every household. The dumplings are cooked directly in the dal, allowing them to soak in the spices and create a flavorful, comforting meal.
Ingredients for Dal Dhokli
Here’s what you’ll need to make this delicious dish:
For the Dal:
- Toor dal (pigeon peas): 1 cup
- Water: 4 cups
- Turmeric powder: ½ teaspoon
- Salt: To taste
- Tamarind paste: 1 tablespoon (or adjust as per your taste)
- Jaggery (gur): 1 tablespoon (optional, but adds a nice sweetness)
- Chili powder: 1 teaspoon
- Asafoetida (hing): A pinch
For the Dhokli (Wheat Flour Dumplings):
- Whole wheat flour: 1 cup
- Semolina (suji): 1 tablespoon (optional, for added texture)
- Salt: ½ teaspoon
- Caraway seeds (ajwain): ½ teaspoon (optional)
- Turmeric powder: ½ teaspoon
- Chili powder: ½ teaspoon
- Oil: 1 tablespoon (for dough)
- Water: As needed
For Tempering (Tadka):
- Oil: 2 tablespoons
- Mustard seeds: 1 teaspoon
- Cumin seeds: 1 teaspoon
- Dry red chilies: 2
- Curry leaves: A few (optional)
- Garlic: 4-5 cloves, minced
For Garnishing:
- Fresh coriander: Chopped
- Lemon wedges: For serving (optional)
How to Make Dal Dhokli: Step-by-Step Instructions
Step 1: Cook the Dal
- Rinse the toor dal thoroughly in water and place it in a pressure cooker with 4 cups of water.
- Add turmeric powder, salt, and a pinch of asafoetida to the dal.
- Pressure cook the dal for 3-4 whistles or until the dal is soft and cooked through.
- Once the dal is cooked, use a whisk or a hand blender to blend it into a smooth consistency.
- Add tamarind paste, jaggery, and chili powder to the dal. Stir well and bring it to a simmer for 5-10 minutes, allowing the flavors to meld together.
Step 2: Prepare the Dhokli (Wheat Flour Dumplings)
- In a mixing bowl, combine whole wheat flour, semolina, turmeric powder, chili powder, caraway seeds (optional), and salt.
- Add oil to the flour mixture and mix well. Gradually add water, little by little, and knead the dough until it’s smooth and soft. The dough should be firm but pliable.
- Divide the dough into small portions and roll each portion into small balls.
- Flatten each ball using your fingers or a rolling pin to form small round discs (about 1-2 inches in diameter).
Step 3: Cook the Dhokli in the Dal
- Once the dal has simmered and the flavors are well combined, gently add the prepared dhoklis into the simmering dal.
- Stir the dal gently and let the dhoklis cook for 10-12 minutes, or until they puff up and are cooked through. Be careful not to stir too much, as the dhoklis can break.
- Taste the dal and adjust seasoning if needed, adding more salt, tamarind, or jaggery as per your taste preferences.
Step 4: Prepare the Tempering (Tadka)
- Heat oil in a small pan over medium heat. Add mustard seeds and cumin seeds. Let them splutter.
- Add dry red chilies, curry leaves (optional), and minced garlic. Sauté for a minute until the garlic turns golden brown and aromatic.
- Pour the tempering over the cooked dal and dhoklis.
Step 5: Serve the Dal Dhokli
- Garnish the Dal Dhokli with freshly chopped coriander leaves.
- Serve hot with a wedge of lemon on the side (optional).
Tips for Making Perfect Dal Dhokli
Use Fresh Tamarind Paste
The tangy flavor of tamarind is an essential part of Dal Dhokli. Using fresh tamarind paste will give the dish a more authentic and vibrant flavor. You can also replace tamarind with lemon juice for a different tang.
Avoid Overcooking Dhokli
When cooking the dhoklis in the dal, keep an eye on them. Overcooking the dhoklis can make them soggy or cause them to break apart. Once they puff up and are cooked through, it’s time to stop.
Adjust the Spice Levels
Dal Dhokli can be made as spicy as you like. Feel free to adjust the amount of chili powder or green chilies based on your personal preference. If you prefer a milder version, reduce the chili powder or omit it entirely.
For more delicious Indian recipes, try our Aloo Gobi Recipe or Malpua Recipe, which also feature a perfect balance of spices.
How to Store and Reheat Dal Dhokli
Dal Dhokli is best enjoyed fresh, but if you have leftovers, store them in an airtight container in the refrigerator for up to 2 days. Reheat the dal and dhoklis by gently warming them on the stove with a little water to loosen the dal, as it tends to thicken when refrigerated.
Serving Suggestions for Dal Dhokli
Dal Dhokli can be served with:
- Cucumber Raita: A refreshing yogurt-based side dish to balance the spices.
- Papad: Crunchy papad is a great accompaniment to this soft and savory dish.
- Chapati or Rice: Serve with a simple chapati or steamed rice for a complete meal.
Dal Dhokli is a wholesome, flavorful dish that brings together the richness of dal and the softness of dumplings in a single pot. The combination of spices, tamarind, and jaggery makes this dish uniquely delicious and perfect for any time of the year. Whether you’re new to Gujarati cuisine or a seasoned fan, this recipe will surely win you over with its comforting taste.