Free Fire Cake Recipe: A Fun and Flavorful Recipe for Gamers
In the world of online gaming, few titles have captured the hearts of gamers quite like Free Fire. This popular battle royale game, known for its intense action and strategic gameplay, has inspired fans around the globe. If you’re planning a gaming-themed party or celebrating a milestone related to Free Fire, why not elevate the occasion with a cake that pays homage to this beloved game? In this comprehensive guide, we’ll walk you through a delightful Free Fire cake recipe that will impress your guests and make your event unforgettable.
Why a Free Fire Cake Recipe?
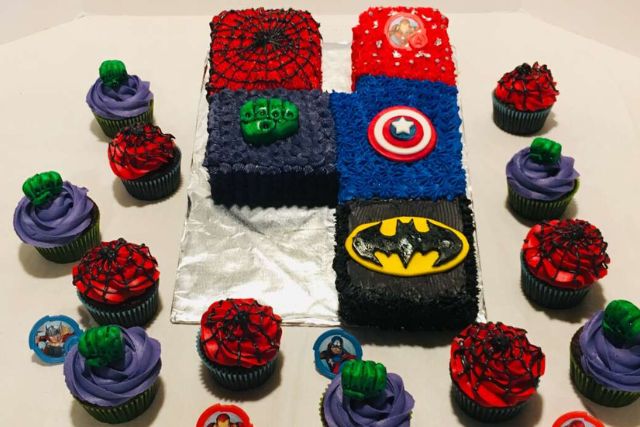
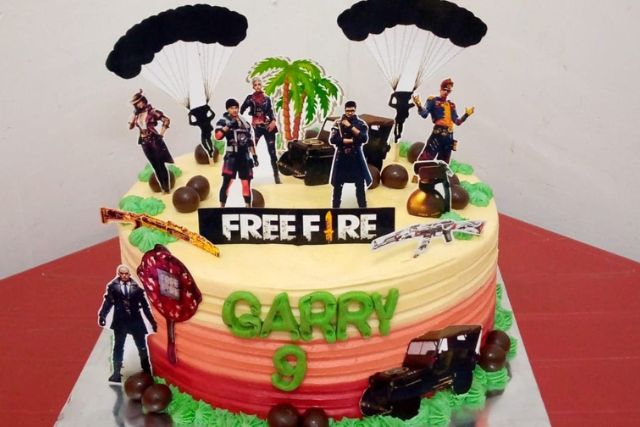
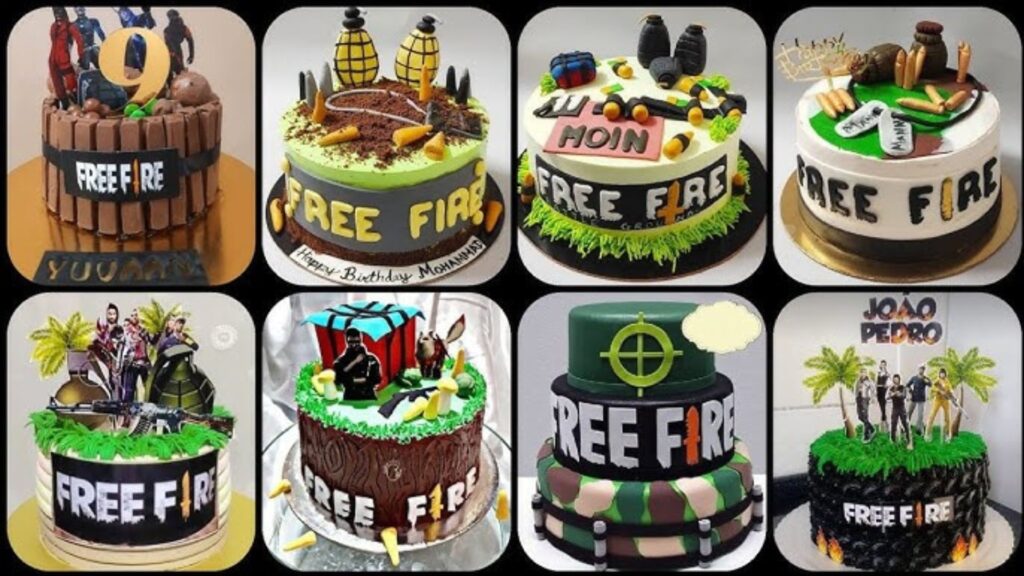
A Free Fire-themed cake isn’t just a treat for the taste buds; it’s a statement of your passion for the game. Whether you’re celebrating a birthday, a gaming achievement, or a special event with fellow gamers, a custom cake can add a unique touch to the celebration. This cake can be decorated with elements from the game, such as characters, weapons, and the iconic Free Fire logo, making it a centerpiece that perfectly captures the essence of your event.
Ingredients You’ll Need to Prepare Free Fire Cake Recipe
To create a Free Fire cake recipe that looks as good as it tastes, gather the following ingredients:
For the Cake Layers:
- 2 ½ cups all-purpose flour
- 2 ½ teaspoons baking powder
- ½ teaspoon salt
- 1 cup unsalted butter, softened
- 1 ½ cups granulated sugar
- 3 large eggs
- 1 teaspoon vanilla extract
- 1 cup whole milk
For the Filling:
- 1 cup chocolate ganache (store-bought or homemade)
- 1 cup crushed cookies or chocolate chips (optional, for added texture)
For the Frosting:
- 1 cup unsalted butter, softened
- 3 ½ cups powdered sugar
- 1 teaspoon vanilla extract
- 2-3 tablespoons heavy cream
- Food coloring (blue, red, and black for Free Fire-themed decorations)
For Decoration:
- Free Fire logo (edible print or fondant)
- Gaming-themed edible decorations (characters, weapons, etc.)
- Piping gel or additional frosting for details
- Edible glitter or sprinkles (optional, for added flair)
Instructions
1. Baking the Cake Layers
- Preheat Your Oven: Preheat your oven to 350°F (175°C). Grease and flour two 9-inch round cake pans or line them with parchment paper for easy removal.
- Prepare Dry Ingredients: In a medium bowl, whisk together the all-purpose flour, baking powder, and salt. Set aside.
- Cream Butter and Sugar: In a large mixing bowl, beat the softened butter and granulated sugar until light and fluffy. This usually takes about 3-5 minutes.
- Incorporate Eggs and Vanilla: Add the eggs one at a time, beating well after each addition. Mix in the vanilla extract.
- Combine Ingredients: Gradually add the dry ingredients to the butter mixture, alternating with the milk. Begin and end with the dry ingredients, mixing just until combined. Avoid overmixing.
- Pour Batter into Pans: Divide the batter evenly between the prepared cake pans and smooth the tops with a spatula.
- Bake the Cakes: Bake for 25-30 minutes, or until a toothpick inserted into the center comes out clean. Allow the cakes to cool in the pans for 10 minutes before transferring them to a wire rack to cool completely.
2. Preparing the Filling
- Make Chocolate Ganache: If you’re making your own ganache, heat 1 cup of heavy cream until just boiling, then pour it over 8 ounces of chopped chocolate. Let it sit for a few minutes before stirring until smooth. Let the ganache cool to a spreadable consistency.
- Add Texture (Optional): If desired, mix in crushed cookies or chocolate chips for added texture in the filling.
3. Preparing the Frosting
- Cream the Butter: Beat the softened butter in a large bowl until creamy and smooth.
- Add Powdered Sugar: Gradually add the powdered sugar, beating on low speed to prevent a mess. Once combined, increase the speed and beat until fluffy.
- Incorporate Vanilla and Cream: Add the vanilla extract and 2 tablespoons of heavy cream. Mix until well combined. If the frosting is too thick, add more cream, one tablespoon at a time, until it reaches the desired consistency.
- Color the Frosting: Divide the frosting into separate bowls and tint each with food coloring to match the Free Fire theme—typically blue, red, and black.
4. Assembling and Decorating the Cake
- Level the Cake Layers: Once the cakes are completely cooled, level the tops with a serrated knife if necessary to create even layers.
- Apply the Filling: Place one cake layer on a serving plate or cake board. Spread a layer of chocolate ganache (and crushed cookies, if using) evenly over the top.
- Add the Second Layer: Place the second cake layer on top and gently press down.
- Apply a Crumb Coat: Spread a thin layer of frosting over the entire cake to seal in crumbs. Chill the cake in the refrigerator for about 30 minutes to set the crumb coat.
- Frost the Cake: Apply a final, thicker layer of frosting over the cake, smoothing it out with a spatula or using a piping bag for more intricate designs.
- Add Decorations: Decorate the cake with Free Fire-themed elements. Use edible prints or fondant for the logo and characters. Pipe additional details or use edible glitter for extra flair.
- Finishing Touches: If you want to add extra details like gaming icons or weapons, use piping gel or additional colored frosting to create these designs.
5. Serving and Enjoying
Once your Free Fire cake recipe is decorated and ready, it’s time to serve it! Cut the cake into slices and watch as your guests marvel at the impressive design. Enjoy the celebration and the sweet treat that ties together your gaming-themed event.
Tips for a Successful Free Fire Cake Recipe
- Plan Ahead: Baking and decorating a themed cake can take time. Start the process a day or two before the event to ensure you have enough time to perfect your cake.
- Quality Ingredients: Use high-quality ingredients for the best taste and texture. Fresh butter, good-quality chocolate, and real vanilla extract make a significant difference.
- Practice Decorating: If you’re new to cake decorating, practice on a smaller cake or cupcakes before tackling the main cake. This will help you gain confidence and improve your skills.
- Stay Organized: Keep your workspace clean and organized. This will make the baking and decorating process smoother and more enjoyable.
- Be Creative: Don’t be afraid to get creative with your decorations. Incorporate elements from the game that you and your guests will appreciate. Customizing the cake to reflect specific aspects of Free Fire will make it even more special.
Creating a Free Fire-themed cake is a fantastic way to celebrate your love for the game and add a unique touch to your event. With this detailed Free Fire cake recipe, you can craft a cake that is both visually stunning and delicious. From the cake layers to the final decorations, each step is designed to ensure your cake stands out and delights your guests.
Whether you’re an avid gamer or simply a fan of the Free Fire universe, this cake will be a hit at any gaming event. So roll up your sleeves, preheat your oven, and get ready to create a cake that’s as epic as the game itself. Happy baking, and here’s to a sweet celebration of all things Free Fire!
Frequently Asked Questions (FAQs) About Free Fire Cake Recipe
Can I Customize the Cake Flavor for a Free Fire-Themed Cake?
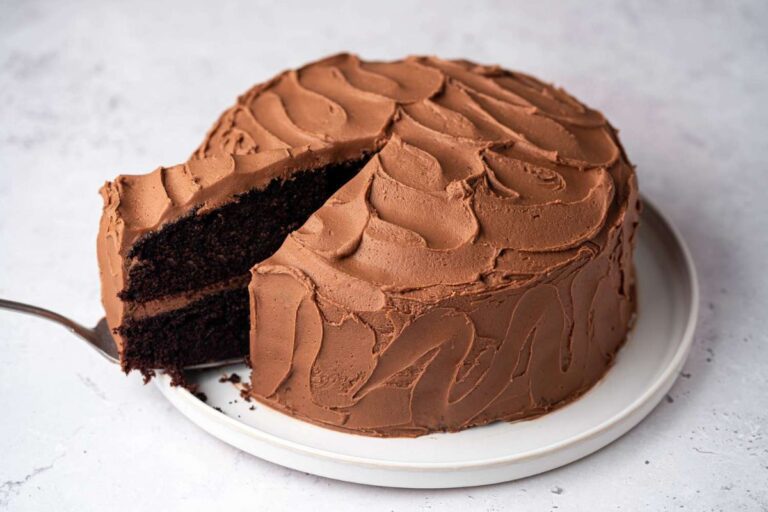
Yes, you can absolutely customize the cake flavor to suit your preferences. While the base recipe provided is for a vanilla cake, you can adapt it to any flavor you like. For example, you could use chocolate, red velvet, or even a fruity flavor like lemon or strawberry. Just be sure to adjust any complementary fillings and frostings accordingly. If you choose a different flavor, make sure it pairs well with your chosen frosting and filling to ensure a delicious result.
How Can I Achieve a Smooth Finish on My Cake?
Achieving a smooth finish on your cake requires a few key steps:
Crumb Coat: Apply a thin layer of frosting (the crumb coat) to seal in crumbs and create a smooth base for the final layer of frosting. Chill the cake after applying the crumb coat to set it.
Chill the Cake: Keep the cake chilled while you frost it. This makes the frosting easier to work with and helps achieve a smoother surface.
Use the Right Tools: Use an offset spatula or a cake scraper to smooth out the frosting. A bench scraper can also be useful for getting a perfectly smooth finish.
How Do I Store a Free Fire Cake Recipe Before the Event?
To keep your cake fresh before the event, follow these storage tips:
Unfrosted Cake: If you haven’t yet frosted the cake, wrap the cooled cake layers tightly in plastic wrap and store them at room temperature for up to 2 days. For longer storage, freeze the layers and thaw them before frosting.
Frosted Cake: Once frosted, cover the cake with a cake dome or an airtight container to prevent it from drying out. Store the cake in the refrigerator if it contains perishable fillings or frosting. Allow it to come to room temperature before serving for the best taste and texture.
What Can I Use for Free Fire-Themed Decorations?
For Free Fire-themed decorations, consider the following:
Edible Prints: Use edible images of the Free Fire logo, characters, or other game elements. These can be found online or through specialty baking supply stores.
Fondant Decorations: Create game-themed decorations using fondant. You can mold fondant into shapes like weapons, characters, or symbols from the game.
Piping Gel: Use piping gel or royal icing to create detailed designs, such as the Free Fire logo or other intricate patterns.
Can I Make the Cake in Advance and Freeze It?
Yes, you can make and freeze the cake in advance. Here’s how:
Freeze Unfrosted Cake Layers: Bake and cool the cake layers, then wrap them tightly in plastic wrap and aluminum foil. Store them in the freezer for up to 3 months. Thaw the layers in the refrigerator overnight before frosting.
Freeze Frosted Cake: If the cake is already frosted, you can freeze it as well. Place it in a freezer-safe container or wrap it carefully in plastic wrap and aluminum foil. To prevent damage to decorations, freeze the cake without delicate decorations and add them after thawing. Thaw the frosted cake in the refrigerator before serving.